How to Set Up Shopify Custom Products for Your Online Store?
You should order Shopify custom products before checkout at your store. You can provide monograms, or you may need to let customers insert text like Name, date, and custom color, or you can let them choose from other customization options.
Many apps can do this, but they are expensive and monitor your store by adding extra scripts and slowing down your site.
Therefore, in this article, I'll explain step-by-step what you can do to offer Shopify custom products.
What are Shopify custom products?
Shopify custom products is a custom product design software for Shopify eCommerce stores. Being a store owner benefits you in every way. T-shirts, hoodies, sweatshirts, caps, mugs, signs, banners, and other personalized items are simple to sell.
The custom product designer tool integrates with your eCommerce store and displays directly at the storefront. Your customers simply select a product, then click the "Customize" button to enter the customizing interface. It works on all devices, including mobiles with any operating system, because it is built in HTML5 and Javascript. As a result, product customization is now possible anywhere, at any time.
Before learning how to set up Shopify custom products, let's start an online store with Shopify.
Create Shopify Custom Products – Without the App
Step 1: Create a new product template
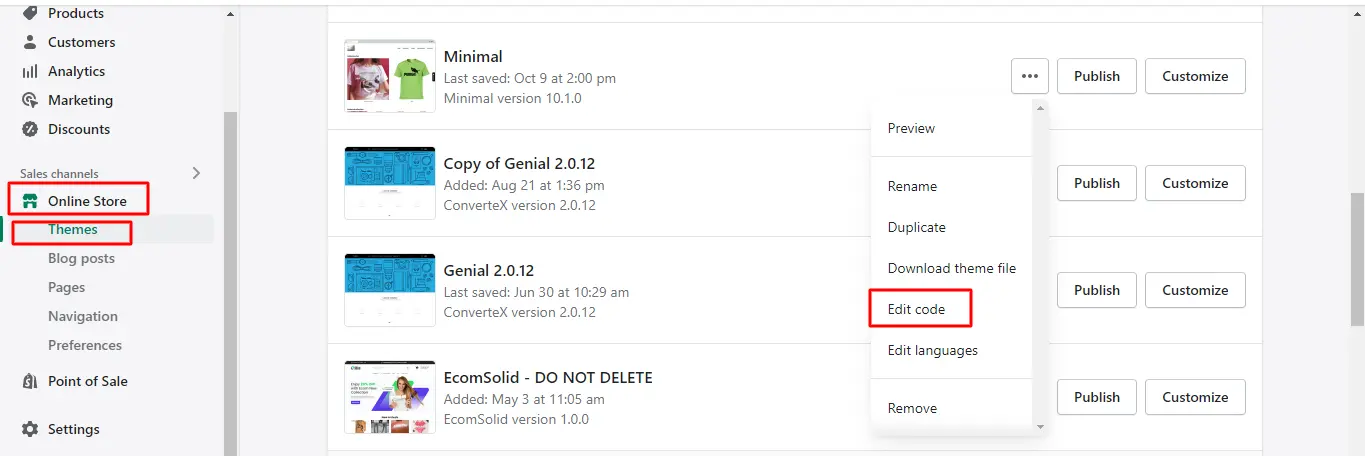
Go to Online Store > Themes > Action > Edit Code after logging into your Shopify Dashboard.
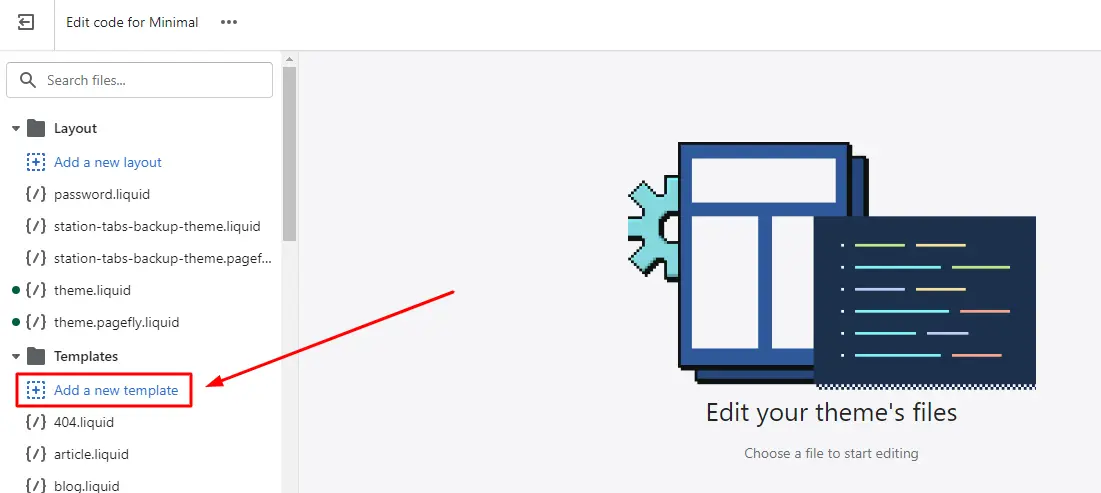
Click “Add a new template” after searching the Templates folder.
Choose “product” and name it “personalized” in the window that appears.
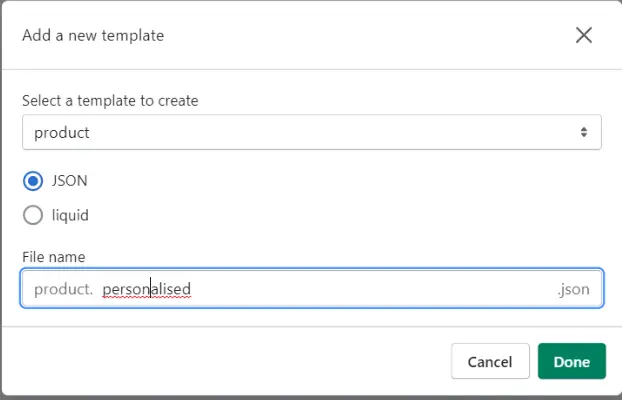
Note: You can name the new template whatever you want, but I'll use “personalized” in the tutorial.
Click the "Done" button to create a new template.
Next, navigate to your Shopify Dashboard's Products section, open the product you want to customize and use this template for, and select the new template.
Step 2: Enter the code for the form fields you want to use.
The most important aspect of this procedure is determining where to apply the code. I recommend placing it just above the Add to Cart button and the quantity field.
This will not be present in many other themes, including the one we just created. If you can't find it in the product. personalized. liquid, look in the Snippets folder for a snippet with the words "product-form," "product," or "form."
Check in the section titled "product-template. liquid" if your theme uses sections.
Create a new section called "product-personalized-template.liquid" for the newly created product template, and copy the code from "product-template.liquid" and paste it into "product-personalised-template.liquid."
In your customized template, replace "product-template.liquid" with "product-personalised-template.liquid."
The Add to Cart button will be located somewhere between these two HTML form tags:
<form>
…(Add to Cart will be somewhere in the middle)…
</form>
We'll add our custom fields just above that (where the red box is pointing), so leave some space there.
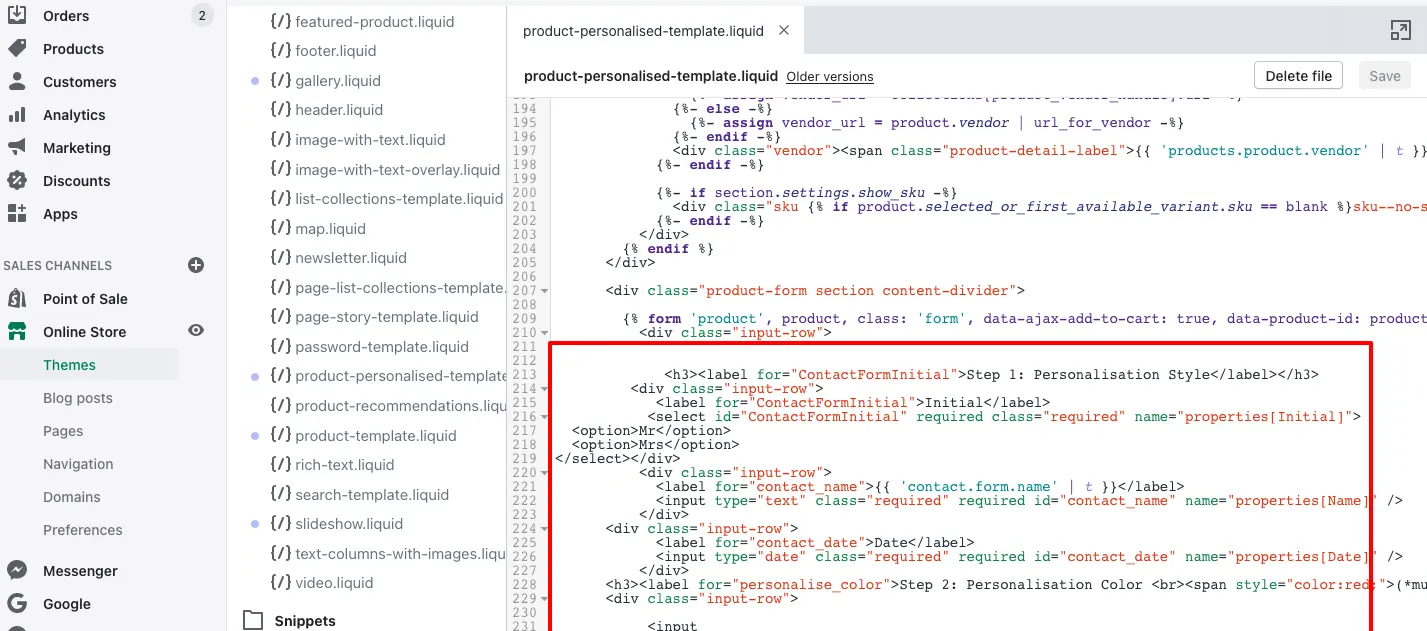
This is where we will insert the code for your customized product options.
I've included code templates for all of the custom options you can add below. Simply select the fields you want to include and copy/paste the code into your product template or section. Put this code in the [replace this with your custom options…] line from the code snippet above.
Small text (monogram)

<p class="line-item-property__field">
<label for="monogram">Monogram (up to 3 letters)</label>
<input required id="monogram" style="width:120px; max-width:100%;" type="text" name="properties[Monogram]">
</p>
Big text (message)
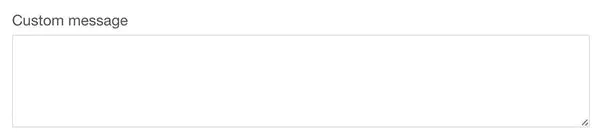
<p class="line-item-property__field">
<label for="custom-message">Custom message</label>
<textarea required id="custom-message" name="properties[Custom message]"></textarea>
</p>
Checkboxes
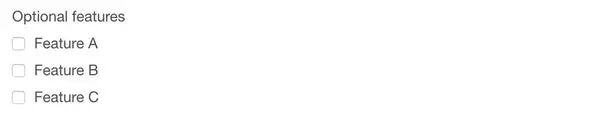
<p class="line-item-property__field">
<label>Optional features</label>
<input type="checkbox" id="Feature-A" name="properties[Optional features - Feature A]"><label class="ep_inline_block" for="Feature-A">Feature A</label><br>
<input type="checkbox" id="Feature-B" name="properties[Optional features - Feature B]"><label class="ep_inline_block" for="Feature-B">Feature B</label><br>
<input type="checkbox" id="Feature-C" name="properties[Optional features - Feature C]"><label class="ep_inline_block" for="Feature-C">Feature C</label>
</p>
Radio buttons
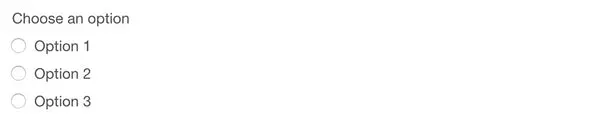
<p class="line-item-property__field">
<label>Choose an option</label><br>
<input required type="radio" name="properties[Choose an option]" value="Option 1"> <span>Option 1</span><br>
<input required type="radio" name="properties[Choose an option]" value="Option 2"> <span>Option 2</span><br>
<input required type="radio" name="properties[Choose an option]" value="Option 3"> <span>Option 3</span><br>
</p>
Drop-down select

<p class="line-item-property__field">
<label class="ep_block">Choose an option</label>
<select required id="choose-an-option" name="properties[Choose an option]">
<option value="Option 1">Option 1</option>
<option value="Option 2">Option 2</option>
<option value="Option 3">Option 3</option>
</select>
</p>
File upload

<p class="line-item-property__field">
<label for="custom_photo">Photo (JPG or PNG)</label>
<input required id="custom_photo" type="file" name="properties[Photo]">
</p>
Note: If your cart is a slide-out or popup (AJAX) cart, file uploads may not work. If you test and the file upload fails, try changing the Customize Theme > Cart settings to "redirect to cart page."
Examine your product and see how it looks so far!
Step 3: Modify the Cart page to display your customized product options.
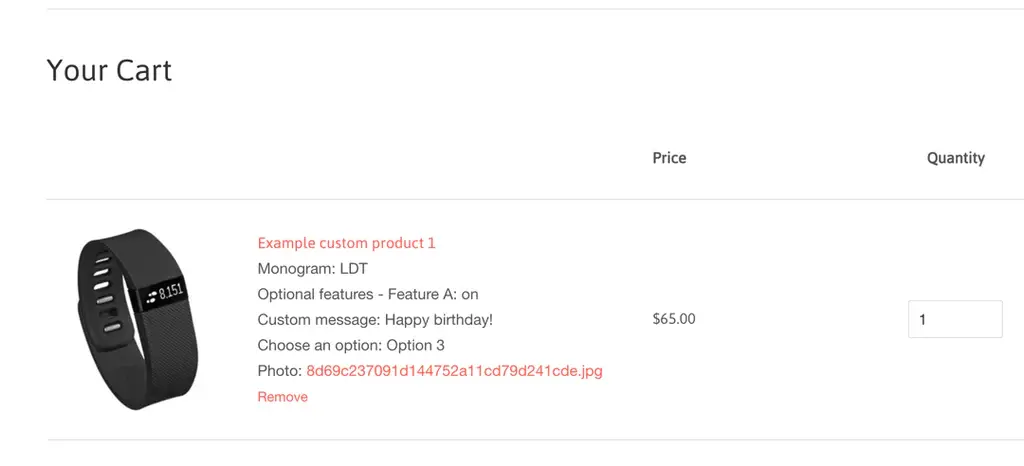
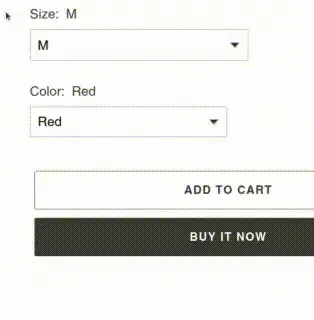
Some themes (such as my paid theme) include the necessary code on the cart page to display the line item properties (custom product options). To see if your theme already does this, simply add the product to your cart and see if the product options appear on the cart page, as shown below:
If your theme does not already display this information on the Cart page and you want it to, follow these steps:
1) In your Theme Editor, open the cart.liquid template.
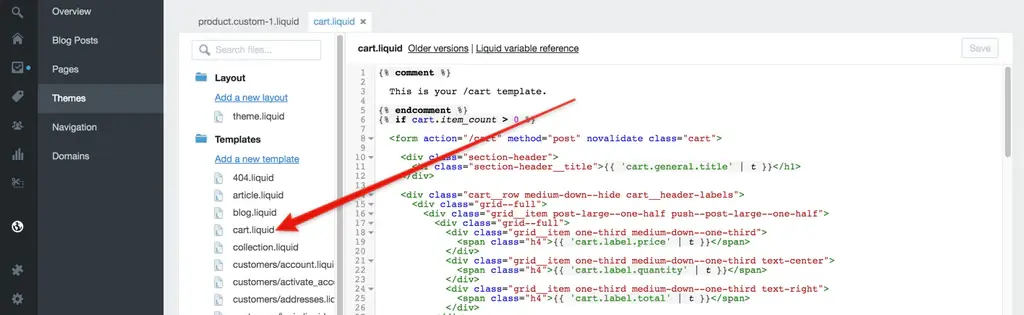
2) Find the code {{ item.product.title }}. Just below it, add the following:
{% assign property_size = item.properties | size %}
{% if property_size > 0 %}
{% for p in item.properties %}
{% unless p.last == blank %}
{{ p.first }}:
{% if p.last contains '/uploads/' %}
<a class="lightbox" href="{{ p.last }}">{{ p.last | split: '/' | last }}</a>
{% else %}
{{ p.last }}
{% endif %}
<br>
{% endunless %}
{% endfor %}
{% endif %}
3) Find the code "/cart/change".
It will be included in an a href...> tag, so it will look like this: a href="/cart/change... >
Everything between the quotation marks should be replaced with the following:
/cart/change?line={{ forloop.index }}&quantity=0The end result should look something like this, though it may differ slightly depending on your theme—the important thing is that everything between the quotation marks matches what's below:
<a href="/cart/change?line={{ forloop.index }}&quantity=0">Remove</a>Look for any other instances of /cart/change in the cart.liquid template using Command F or Cntrl F, and repeat the process above wherever you find it.
4) Search cart.liquid for every instance of the following:
updates[{{ item.id }}]
Substitute the following:
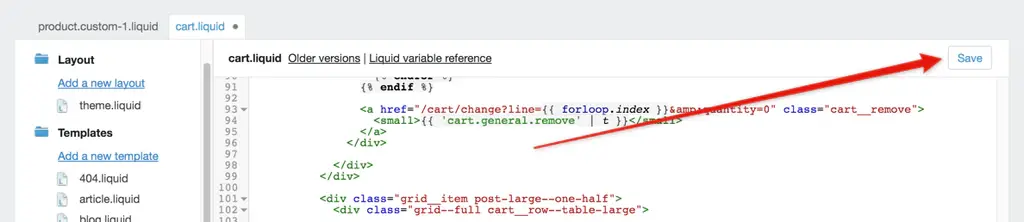
name="updates[]"5) Save your changes
Step 4: Customize order confirmation emails
You should also include the custom options in the order confirmation email that customers receive.
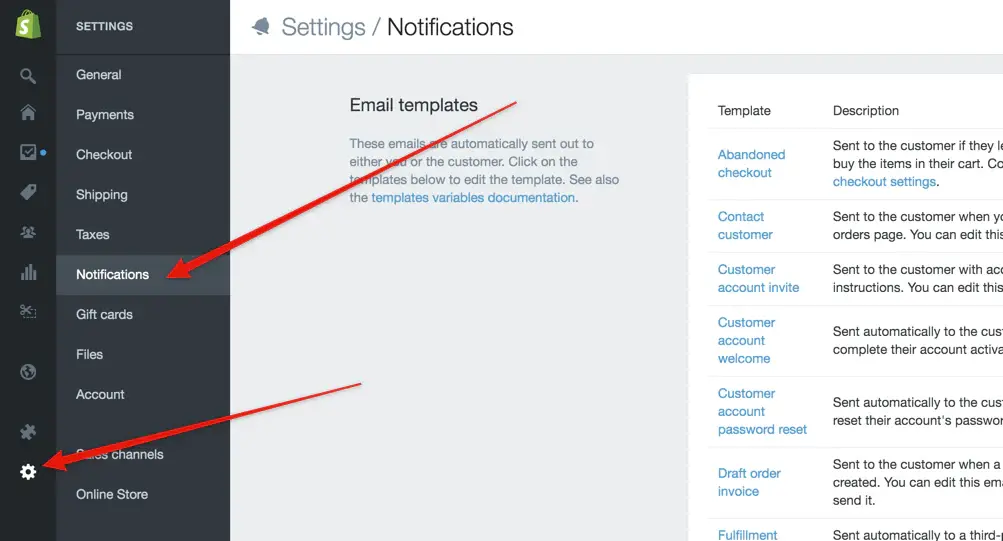
To do so, navigate to Settings > Notifications in your Shopify Dashboard.
Locate the code line.title in the Order Confirmation email template.
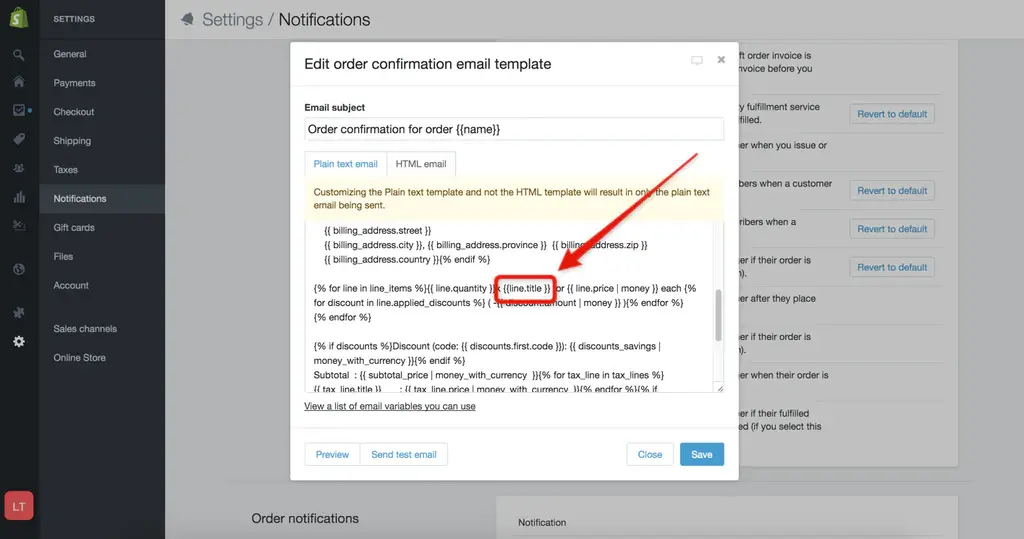
Replace it with:
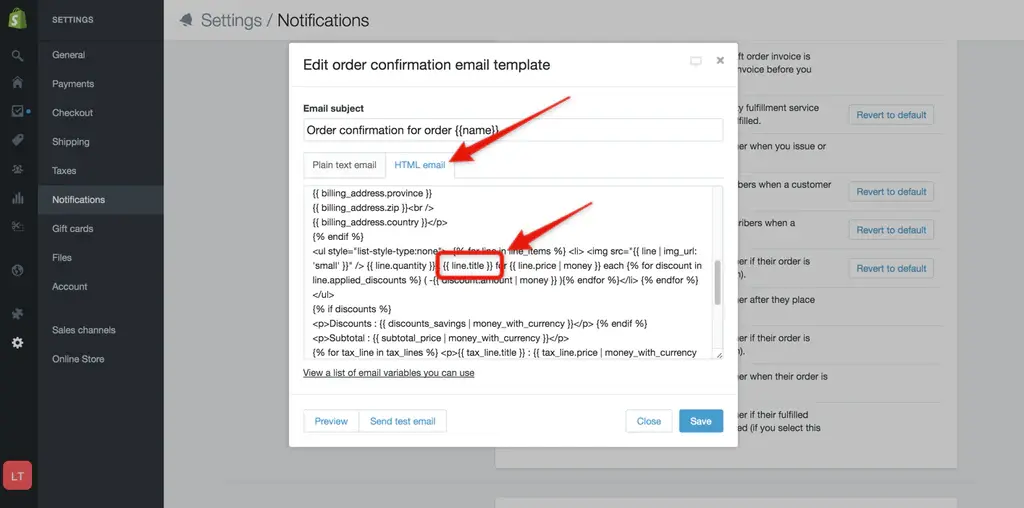
{{ line.title }}{% for p in line.properties %}{% unless p.last == blank %} - {{ p.first }}: {{ p.last }}{% endunless %}{% endfor %}Rep the process of replacing line.title with the code above by clicking on the "HTML email" tab.
Repeat this procedure for any additional emails in which you want to include the line item properties (custom product options). I recommend doing this on the "New order" email template so that you as the store admin are aware of which custom options the customer selected.
Step 5: Test it out
Now, open the product that is using the new custom template and test this customized work on the front-end of your website. Choose your options and place them in your shopping cart.
Proceed to checkout and double-check that Shopify's customizable product options are working properly.
How to set up Shopify custom products with App?
In this article, we are going to include custom products in Shopify store with the Best Custom Product Options app.
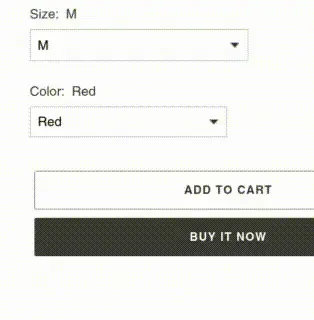
First, let's make a product and several variations of it:
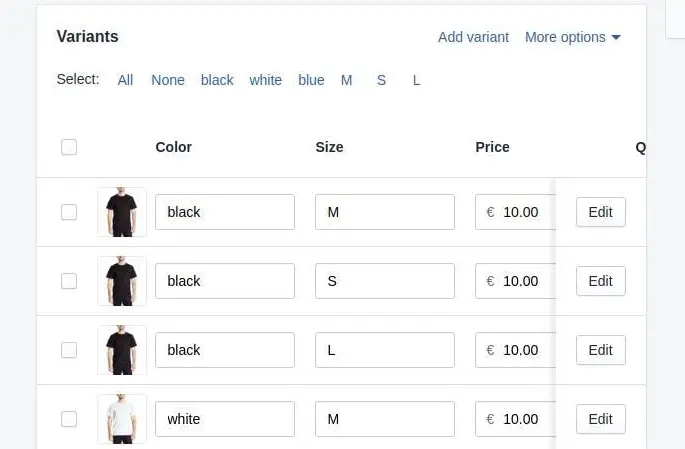
The product looks like this by default:
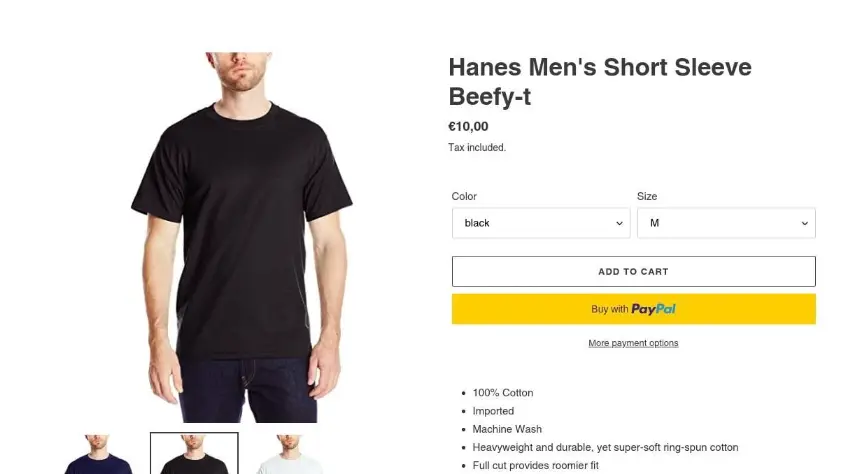
2. Next, install the application and choose the product for which you want to change the options:
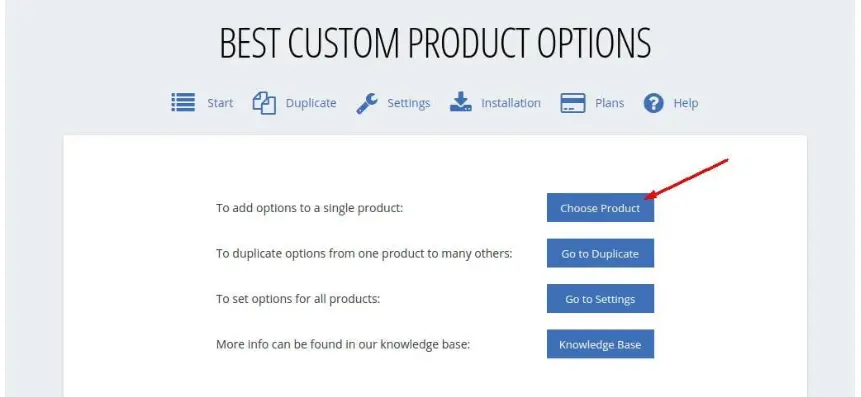
3. In the first section, it displays the product options that you can configure in Shopify's backend, which we refer to as Shopify Options.
Options for Shopify Use the Shopify variant system that you use in the Shopify backend (normal products). Consider it as our app styling the native options you already have. Here's what you get when you use this function:
- All variants support custom pricing.
- Images are linked to variants (so they change when a variant is selected).
- Inventory management.
However, in Shopify Options, each product is limited to three options and 100 variants.
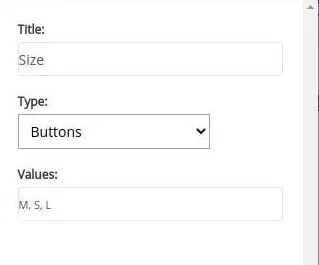
To edit the product options, click the edit icon on the right side of the options.
These are the different types of options:
- Dropdown. It is a standard dropdown menu that looks like this:
- Improve Drop Down. This one is a little different in appearance:
- Button
- Color Swatches
- Image Swatches
- Auto Image Swatches (It makes use of the variant images you've saved in Shopify's backend.)

Virtual Options
One of the primary benefits of using Virtual Options is that it allows you to go beyond Shopify's 3 option and 100 variant limits. It enables you to create an unlimited number of options or values.
The following are the benefits of Virtual Options:
- With an Advanced Plan, Virtual Options support add-on pricing.
- They can be concealed using conditional logic (Advanced Plan).
- Options with multiple selections.
However, there are some drawbacks:
- Images cannot be linked to variants because they do not change when the variant is selected.
- There is no inventory management.
- There is no SKU policy.
Shopify Custom Products: FAQs
Can you make custom products on Shopify?
Yes, you can create and sell custom products on Shopify. The platform offers various features and options to help you offer personalized and custom products to your customers. You can use apps, custom fields, and product options to allow customers to select or customize specific attributes of the products they want to purchase.
How do I list personalized products on Shopify?
To list personalized products on Shopify, you can follow these general steps:
- Set up your Shopify store and add your products.
- Determine which products can be personalized or customized.
- Use product options or variants to capture different customization choices, such as size, color, text, or images.
- If needed, install a suitable app from the Shopify App Store that provides customization or personalization features. These apps can help you offer more advanced customization options, such as engraving, monogramming, or uploading custom artwork.
- Configure the app settings and integrate it with your Shopify store.
- Test the customization process to ensure it functions as expected.
- Publish your personalized products on your store.
Does Shopify allow personalization?
Yes, Shopify allows personalization of products. You can enable personalization options for your products using features like product options, variants, or by installing third-party apps from the Shopify App Store. These options allow customers to choose specific attributes, add custom text or images, and tailor the product to their preferences.
With the flexibility of the platform, you can provide a personalized shopping experience to your customers, enhancing their satisfaction and engagement with your brand.
Conclusion
Now you know how to create Shopify custom products using the app and not using the app. Enable in-store experiences and improve your conversion rates by allowing customers to enjoy a customized process.

![]()